Even with a perfect stencil and a fresh jar of solder paste, an SMT line can still lose yield at a single point: the squeegee. Pressure and speed are the two knobs every operator touches first, and they are also the two settings most often carried over from the last product rather than derived from first principles. This guide walks through how squeegee parameters physically move paste into apertures, how to calculate a defensible starting point, and how to prove the setup is stable.
What the Squeegee Actually Does
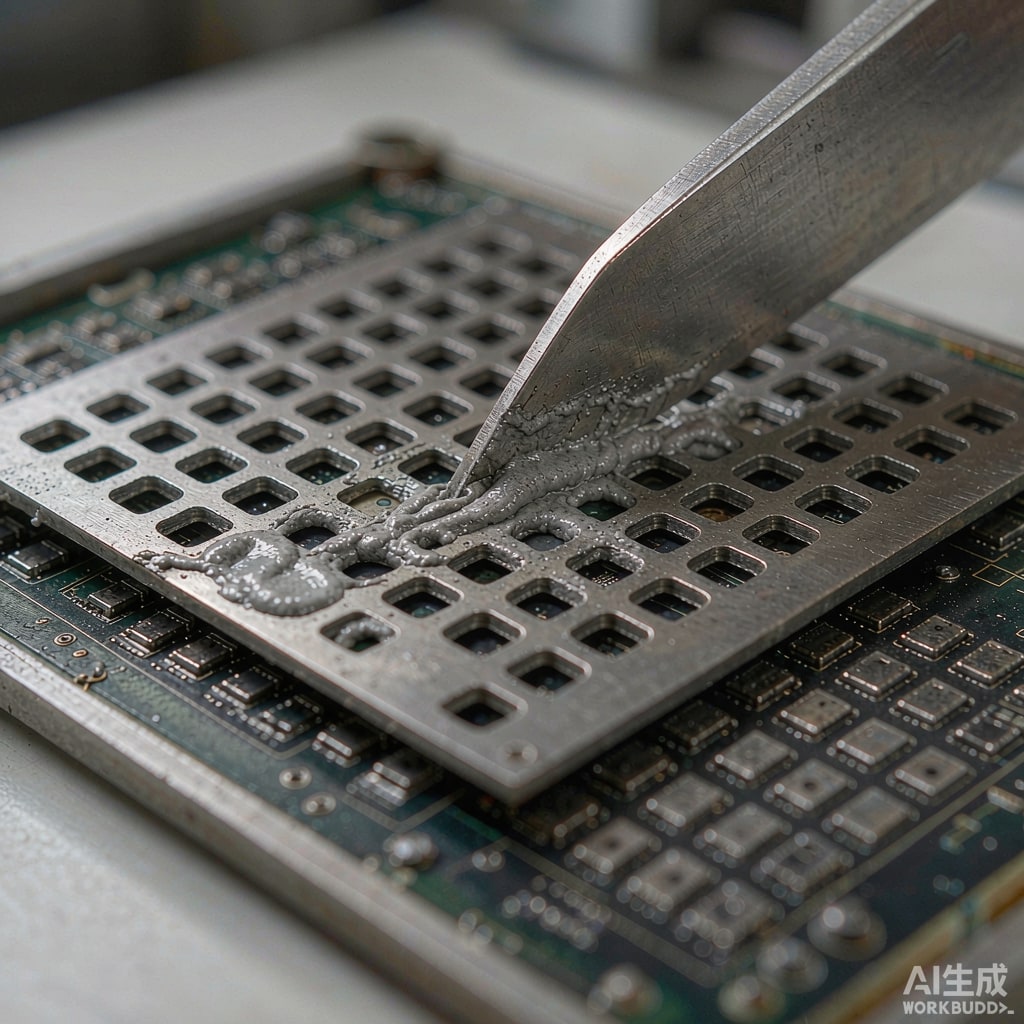
The blade’s job is to roll the paste ahead of itself into a small, pressurised cylinder, then release that pressure at the trailing edge so the paste shear-thins and flows into the aperture. Three things must happen simultaneously: the paste must fully fill the aperture walls, the meniscus must be level with the stencil surface, and the stencil must sit flush on the pad so no gap allows paste to bleed underneath.
All three depend on a narrow pressure window. Below the window, apertures starve and the deposit volume falls off. Above it, paste bleeds under the stencil, the blades scoop paste out of fine apertures on the up-stroke, and blade wear accelerates.
The Pressure Rule of Thumb, and Its Limits
Pressure per unit blade length
A common starting point is 0.35 to 0.55 kg per centimetre of squeegee length, roughly 3.5 to 5.5 N per centimetre. A 30 cm blade therefore starts around 10 to 16 kg total. Convert the result to the pressure the machine expects (bar or psi on pneumatic print heads), and check it against the manufacturer’s maximum, because over-pressurising a soft polyurethane blade simply bends it and changes the contact geometry.
Blade angle changes the effective pressure
Metal blades are typically mounted at 45 degrees; polyurethane blades run from 45 to 60 degrees. A steeper angle concentrates force on a shorter contact patch and behaves like extra pressure. If a supplier changes blade angle without telling you, expect a shift in deposit height and opening behaviour.
When the rule of thumb fails
The rule assumes a soft, conformal contact with the stencil. It does not hold when the PCB has any bow or twist, when board support is weak, or when aperture area ratio drops below 0.5. In those cases, raising pressure to fix starved fills is exactly the wrong move, because the extra force deflects the stencil into the unsupported gap and causes bridging at fine pitch.
Speed: Where Viscosity and Shear Thi
ing Meet
Most SMT solder pastes are formulated for a squeegee speed of 20 to 80 mm per second. The practical band for fine-pitch printing at 0.4 mm pitch and 0.10 mm stencil thickness is usually 20 to 40 mm/s; large area boards with coarse apertures can run 60 to 100 mm/s without penalty.
Why slow is not always better
Too slow, and the paste dwells under the blade long enough for flux to separate and for the roll to flatten, which produces inconsistent fill across the board length. Too fast, and the paste does not have time to shear-thin and fill the aperture before the blade passes, so you see starved deposits concentrated on the side of the board where the stroke ends.
Matching speed to aperture density
A useful test is to print a board with apertures of three sizes, then measure deposit volumes by size. If small apertures are short and large ones are fine, slow down. If everything is short, you have a pressure or contact problem, not a speed problem.
Blade Material and Its Effect on the Window
- Stainless steel blade: best for fine-pitch and high-definition printing, sharp edge, but no conformability, so board flatness and support become critical.
- Polyurethane blade, 80 to 90 Shore A: conforms to slight board warp; good general-purpose choice; wears with use and must be re-dressed.
- Polyurethane blade, 70 Shore A: more conformable, useful on warped boards, but deforms at high pressure and lifts paste from coarse apertures.
Whatever the material, check the blade edge under magnification once a shift. A rounded or nicked edge acts like a second, uncontrolled aperture and shows up as streaking in the print direction.
A Practical Setup Procedure
Step 1: Fix the mechanicals first
Verify stencil tension, board support, and stencil-to-board separation speed before touching pressure. Separation speed of 1 to 3 mm/s is a good starting range; faster separation pulls paste back out of small apertures.
Step 2: Set pressure by a bleed test
Print onto a bare copper coupon at the candidate pressure, then inspect the stencil underside and board edge for paste bleed. Increase pressure in small increments until bleed just appears, then back off by one increment. That is the ceiling of the window, and it is where you should start, not where you should finish.
Step 3: Tune speed at the ceiling
At the ceiling pressure, sweep speed in four steps and measure deposit volume on the smallest and largest aperture. Choose the speed that maximises the small-aperture volume without producing bleed.
Step 4: Verify repeatability, not just accuracy
One good board means nothing. Print 30 boards and compare the first, fifteenth, and thirtieth for deposit volume on the same ten apertures. Drift of more than 5 percent across the run points to paste degradation, stencil cleaning frequency, or a wandering print head rather than the squeegee settings themselves.
Common Failure Signatures
- Paste smeared on the stencil top between apertures: pressure too high, blade too soft, or blade angle too shallow.
- Starved fine-pitch apertures with full coarse ones: speed too high or paste viscosity outside spec.
- Deposits consistently short on one side of the board: uneven blade pressure across the length; re-level the print head.
- Paste bridging under the stencil: poor board support or excessive pressure forcing the stencil into a gap.
Documenting the Setup for Repeatability
Record blade type, blade length, pressure in kg, angle, speed, separation speed, stencil thickness, aperture area ratio, and paste lot number against every product. When a customer in a tropical climate reports a shift in print quality after a rainy week, the first thing to compare is paste lot and shop humidity, and the second is whether the pressure was quietly adjusted by an operator chasing yield. A written baseline prevents both the guesswork and the blame.
The squeegee is a deceptively simple tool, but the operating window is narrow and it is the cheapest place on the line to gain yield. Set it by measurement once, document it, and leave it alone.