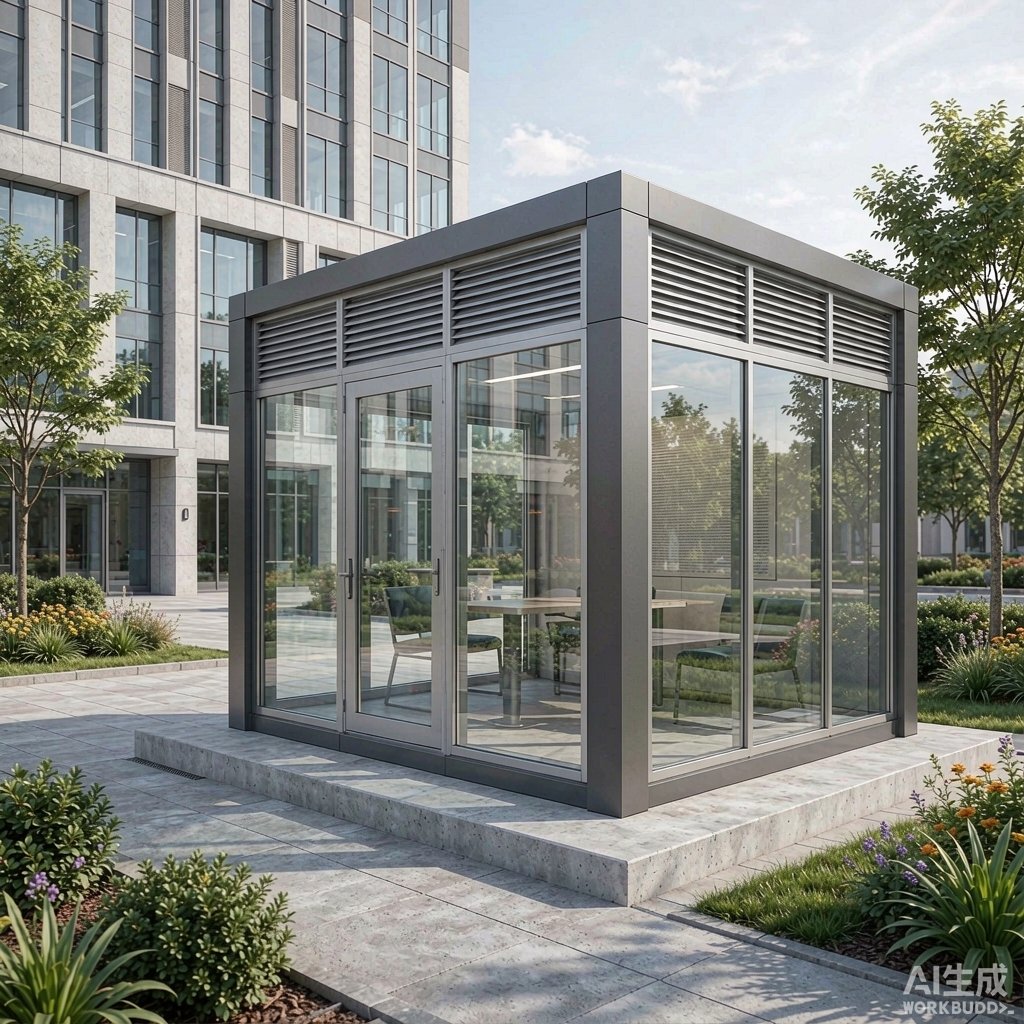
A prefabricated smoking room arrives as a finished module: welded frame, glazed panels, exhaust fan, lighting, and ashtray furniture pre-installed. What determines whether it performs for the next decade is mostly decided before the truck arrives — in the site preparation, the power provision, and the anchoring. This guide walks through the installation sequence that facility teams and contractors can use as a checklist.
Site Preparation
Location and Setbacks
Before pouring anything, confirm the legal placement. Most regulations require smoking areas to be a minimum distance from building entrances, operable windows, and ventilation air intakes — commonly in the range of 3 to 10 meters depending on jurisdiction. Choose a spot that is downwind of entrances in the prevailing wind and out of main pedestrian desire lines, or staff will detour around it and smokers will drift back to the door anyway.
The Foundation Pad
Prefab smoking rooms anchor to a slab, and slab quality is the top predictor of installation problems:
- Thickness: A 100–150 mm reinforced concrete pad on compacted ground suits single-module rooms; heavier walk-in glass modules may require engineering input.
- Level: Within about 5 mm across the footprint. Glass panel modules tolerate surprisingly little twist — out-of-level pads translate to door misalignment and gasket gaps.
- Slope and drainage: A gentle 1–2% slope away from the room keeps rainwater from ponding under the base frame and wicking into the interior floor.
- Pad size: Extend the slab at least 100–200 mm beyond the module on all sides so anchoring hardware has concrete to bite and flashing can terminate cleanly.
Access and Logistics
Measure the delivery path: gate widths, turning radii, overhead obstructions, and ground pressure limits. Most modules travel on a flatbed and offload by forklift or small crane. Confirm who supplies the lifting equipment and plan an offload spot within reach of the final position — dragging a glass module across a landscape strip is how glazing gets cracked.
Anchoring and Leveling
Fixing Methods
- Mechanical expansion anchors: The default for inland sites; use stainless hardware sized per the module’s anchoring drawing, typically M10–M12 at each base plate.
- Chemical (adhesive) anchors: Preferred in coastal, high-wind, or seismic zones where cracked concrete under cyclic load would loosen expansion bolts.
- Shimming: Level the base frame with stainless or HDPE shims at each anchor point before tightening — never force the frame square by over-torquing the bolts.
Weather Sealing at the Base
After leveling, close the gap between the module skirt and the pad with a continuous flashing and exterior-grade sealant bead. This single detail prevents the most common service complaint: water and debris accumulating under the floor, followed by odor and corrosion.
Electrical Requirements
Plan the power co
ection before the module ships — retrofitting conduit through a finished floor is slow work.
- Dedicated circuit: Exhaust fan, lighting, and any heater or air curtain should each be on appropriate dedicated breakers; typical loads run 300–1,000 W per room.
- RCD/GFCI protection: Mandatory for outdoor installations; pair with an IP-rated, lockable weatherproof isolator near the module so maintenance can be made safe.
- Cable route: Bring supply up through the slab where possible, or enter the module’s base at the factory-provided gland location to keep the exterior clean.
- Lighting and controls: Motion sensors and photocells cut energy waste in smoking rooms that see intermittent use.
Ventilation Commissioning
The exhaust system is the product’s core function, so commission it like a system rather than assuming the factory settings:
- Air changes: Indoor smoking rooms are typically engineered for 10–20 air changes per hour; verify the installed fan delivers the rated airflow against the actual duct run, not the free-air rating.
- Negative pressure: Measure a slight negative pressure (roughly 5–15 Pa relative to outdoors) so odor escapes the door rather than the surroundings when it opens.
- Discharge location: Point the exhaust up and away from walkways, seating, and intake grilles; a fan blowing at head height across the entrance recreates the problem the room exists to solve.
- Smoke test: With the fan ru
ing, release smoke at seated height and at the door; confirm capture and direction. Adjust dampers or add a make-up air path if smoke lingers at the ceiling.
Compliance Handover
Finish the job with the small items that authorities and users both check: legal signage on the door, ashtray bins at each seat, a fire extinguisher inside per local fire code, and a laminated maintenance card covering fan filter cleaning intervals, glass inspection, and anchor re-torque checks after the first year. Photograph the completed installation and file the commissioning measurements — negative pressure, airflow, and electrical test results — with the facility records.
Common Installation Mistakes
- Pad poured out of level, discovered when glass doors will not latch.
- Exhaust discharged across the pedestrian path or toward building windows.
- No weatherproof isolator, so every filter cleaning requires an electrician to lock out the panel.
- Anchors torqued onto an untwisted frame with the skirt left open, letting rain run under the floor.
Conclusion
Prefabricated smoking rooms are engineered at the factory but delivered by the installer. A level, well-drained pad; stainless anchoring suited to the wind environment; a clean electrical route with proper protection; and commissioned ventilation with verified negative pressure turn a delivered box into a facility asset. Work through the sequence above with the supplier’s installation drawing in hand, and the room will look and perform the same in year ten as on handover day.