In SMT (Surface Mount Technology) assembly, the solder paste stencil is one of the most critical process variables. Poor stencil design leads to bridging, insufficients, and tombstoning — defects that drive up rework costs and reduce yield. This guide covers the core principles of aperture ratio, area ratio, and paste volume optimization.
Understanding Aperture Ratio and Area Ratio
Two key metrics govern stencil aperture performance:
- Area Ratio = Aperture Area ÷ Aperture Wall Area. IPC-7525 recommends a minimum of 0.66 for consistent paste release.
- Aspect Ratio = Aperture Width ÷ Stencil Thickness. A value ≥ 1.5 is required to prevent paste clogging.
For fine-pitch components such as 0201 (metric 0603) and QFN packages, the stencil thickness typically drops to 100–120 µm to achieve the required ratios without clogging.
Stencil Thickness Selection by Component Type
| Component | Recommended Stencil Thickness | Typical Aperture |
|---|---|---|
| 0402 (1005 metric) | 120–150 µm | 0.35 × 0.50 mm |
| 0201 (0603 metric) | 100–120 µm | 0.25 × 0.30 mm |
| BGA (0.5 mm pitch) | 120–150 µm | 0.28 mm circle |
| QFN (0.4 mm pitch) | 100–120 µm | 0.22 × 0.22 mm |
| Electrolytic Cap (large) | 150–200 µm | Custom per footprint |
Paste Volume Optimization Techniques
Insufficient paste volume is the leading cause of open solder joints, while excess paste causes bridging. The target paste volume is defined by the component’s land pattern area and the required solder fillet height.
- Step stencils: Use local step-up or step-down regions to deposit varying paste volumes on the same board — ideal for mixed-component boards with both fine-pitch ICs and large power components.
- Laser cutting vs electroforming: Laser-cut stencils are cost-effective for standard pitches; electroformed nickel stencils provide smoother aperture walls for ultra-fine-pitch work below 0.3 mm.
- Aperture home base (AHB) reduction: Reduce aperture area by 10–20% relative to the pad to minimize bridging on QFN and fine-pitch devices.
Common Stencil-Related Defects and Root Causes
Understanding failure modes helps engineers iterate faster:
- Bridging: Aperture too large, squeegee speed too slow, or stencil gasketing failure.
- Insufficient solder: Aperture ratio below 0.66, worn stencil, or dry paste.
- Skewing / misalignment: Fiducial recognition error or board support inadequacy.
- Smearing: Underside wipe frequency too low or stencil not cleaned between print cycles.
SMT Copper Components and Stencil Interaction
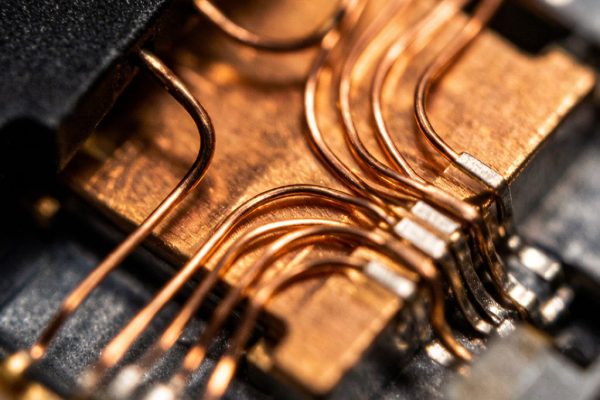
When assembling boards that include SMT copper strip thermal pads or shielding clips, the paste volume for large copper thermal areas must be carefully controlled. Copper pads with poor paste transfer can result in voids under the component, which increase thermal resistance — defeating the purpose of high-conductivity copper in the design.
At TechMartSE, our copper strips (bare copper, gold-plated, and nickel-plated variants) are designed with standard SMT land patterns, ensuring compatibility with common stencil thicknesses of 120–150 µm without requiring special process adjustments.
Key Takeaways
- Maintain area ratio ≥ 0.66 and aspect ratio ≥ 1.5 for reliable paste release.
- Use step stencils when combining fine-pitch ICs and large thermal pads on the same assembly.
- Clean stencil apertures every 5–10 print cycles to prevent paste buildup.
- Validate paste volume with 3D SPI (Solder Paste Inspection) immediately after printing.
Proper stencil design is not a one-time setup — it requires continuous monitoring and adjustment as component density increases and pitch dimensions shrink. Investing in SPI and closed-loop feedback dramatically reduces first-pass defect rates across high-volume SMT lines.