Introduction
While SMT copper strips are essential components for high-volume electronics manufacturing, they’re also incredibly useful for hobbyists and DIY electronics enthusiasts. These versatile materials offer excellent thermal conductivity and electrical properties for creative projects. In this article, we explore five exciting ways you can incorporate SMT copper strips into your own electronics projects, from improving Raspberry Pi performance to creating custom LED installations.
Why Use Copper Strips in DIY Projects?
Before diving into specific projects, let’s understand why copper strips are excellent for DIY applications:
- Exceptional thermal conductivity (386-400 W/mK) – superior to most DIY thermal solutions
- Easy to cut and shape – can be worked with basic tools
- Excellent solderability – bonds well with lead-free and leaded solders
- Reasonable cost – affordable for hobbyist budgets
- Professional results – same material quality used in commercial products
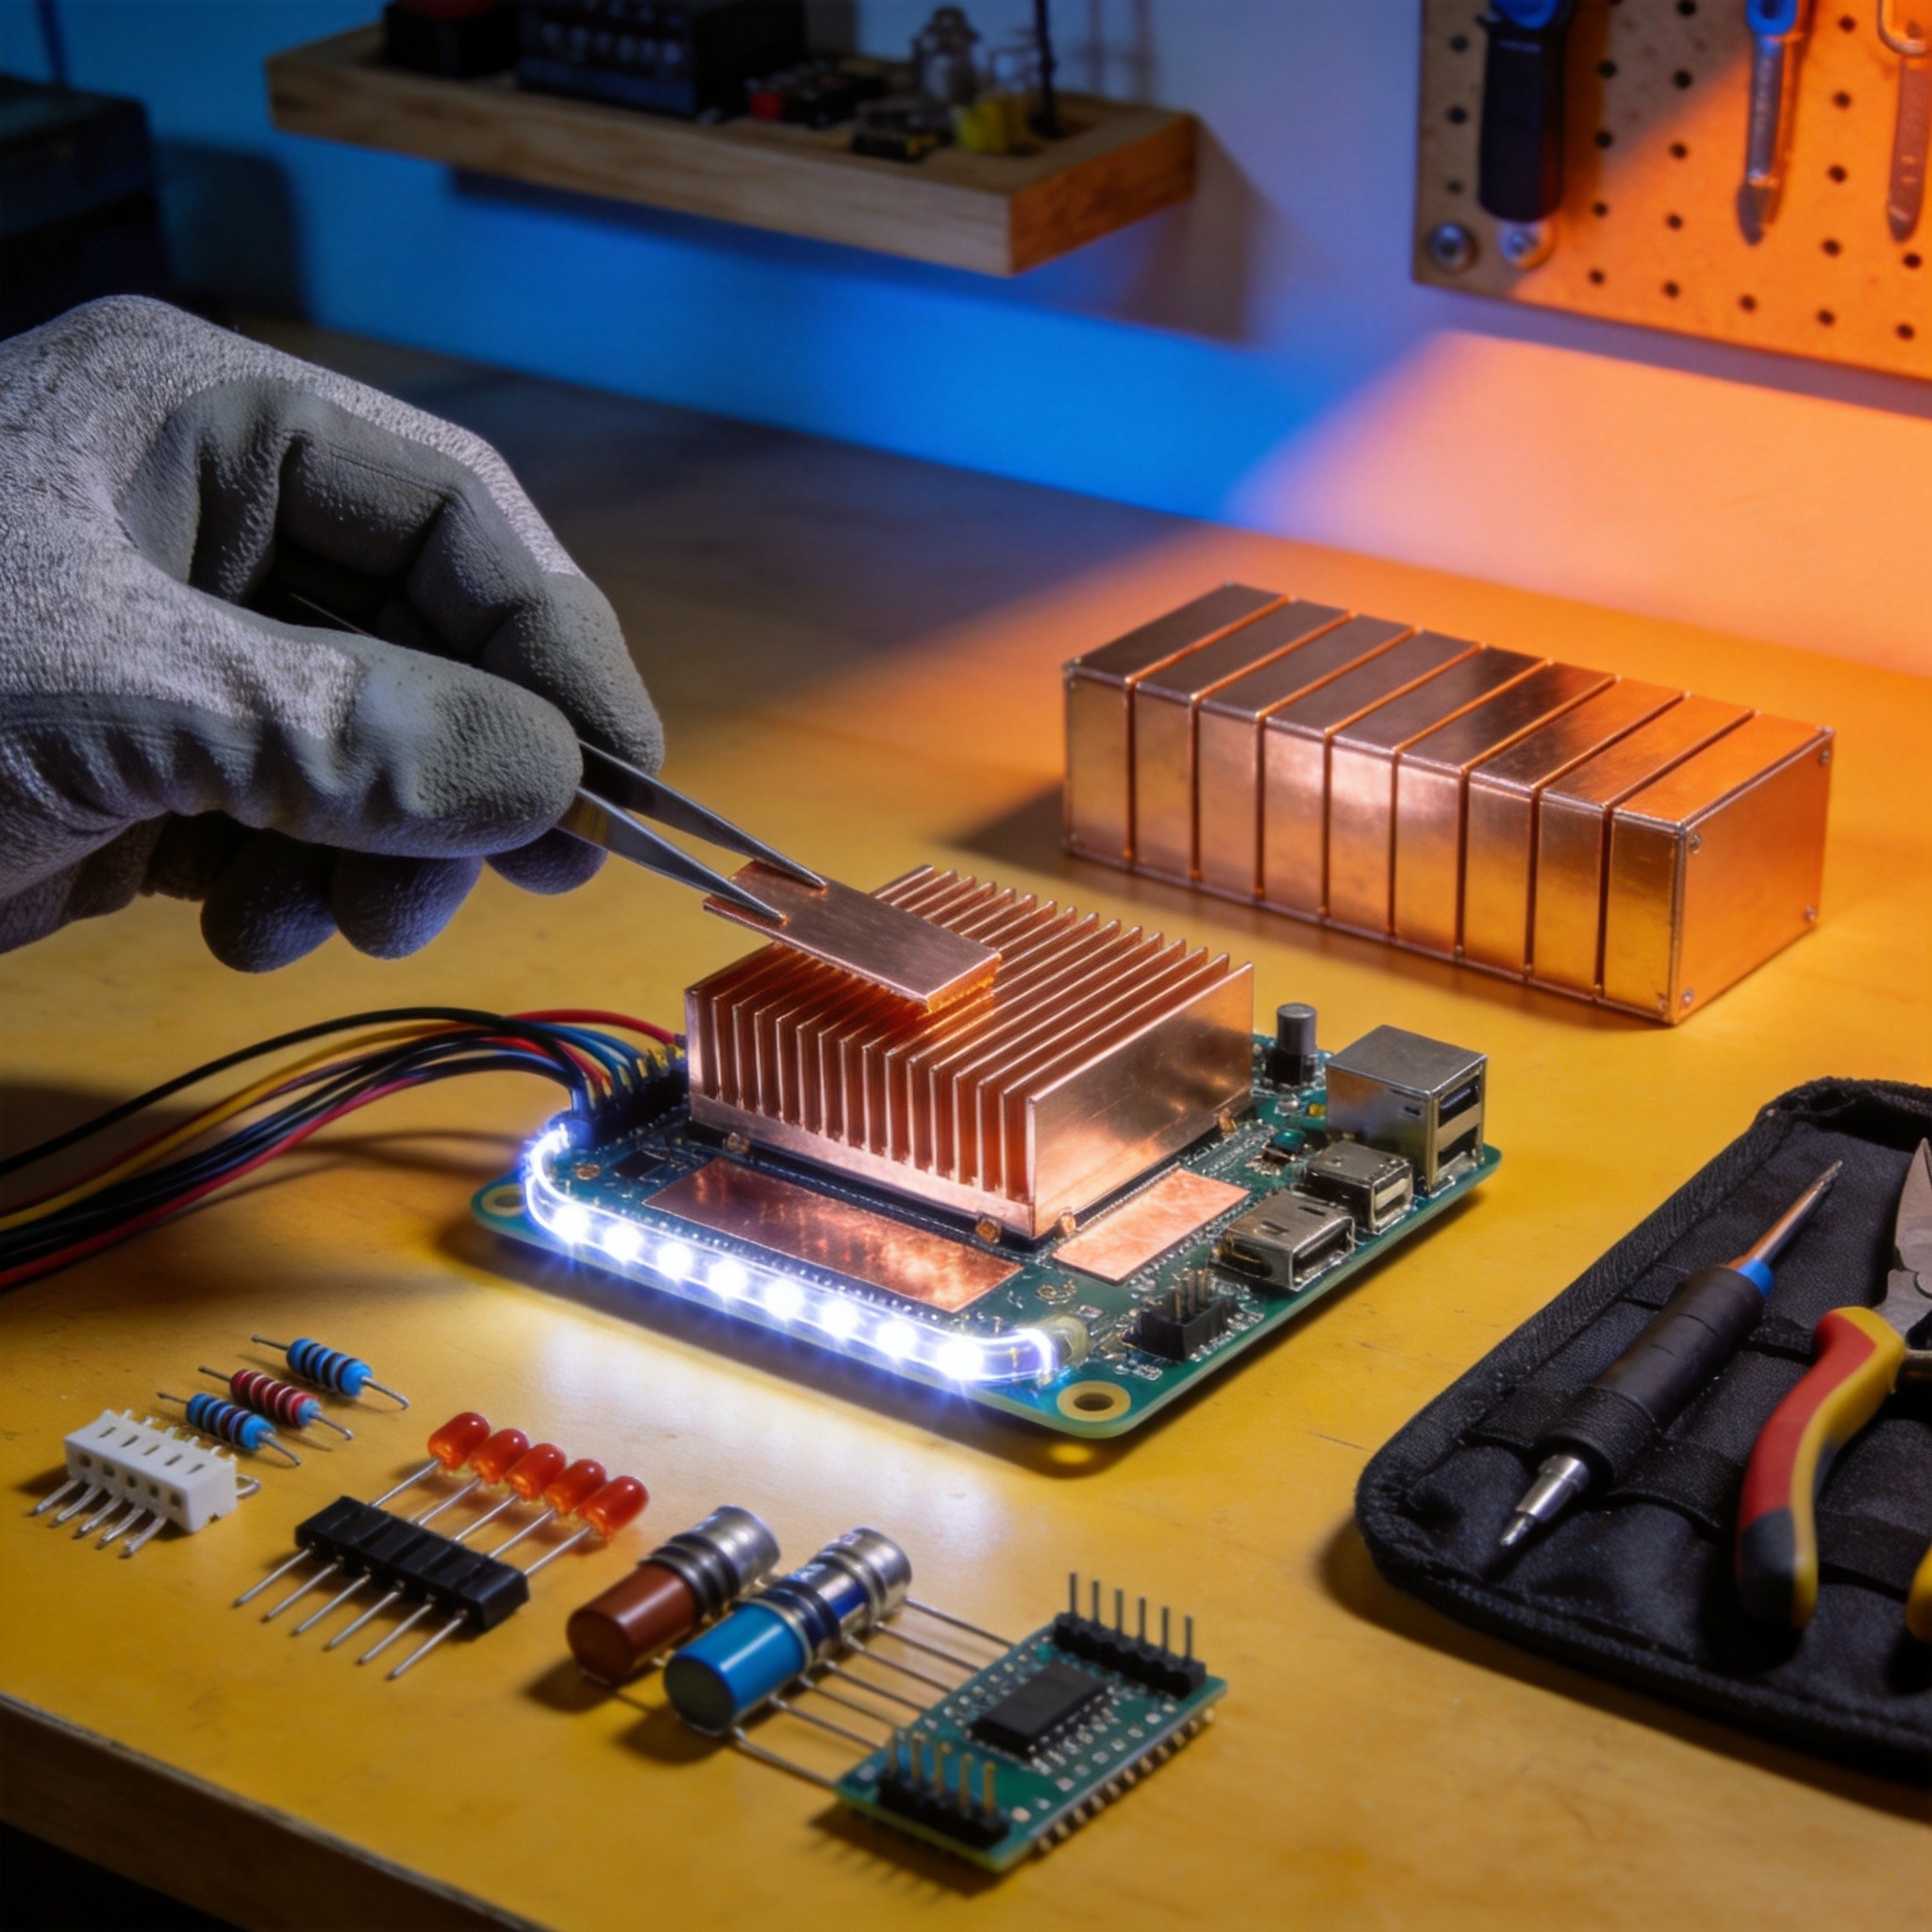
Project 1: Raspberry Pi Heat Sink Solution
The Challenge
Raspberry Pi boards, especially newer models like the Pi 4 and Pi 5, can generate significant heat during intensive tasks like video streaming, home automation, or retro gaming. Stock heat sinks may be insufficient for continuous operation.
The Copper Solution
Create a custom copper shim heat spreader:
- Cut a piece of copper strip to match the dimensions of the CPU (approximately 15mm x 15mm for Pi 4)
- Apply thermal paste to both sides of the copper shim
- Place the copper shim directly on the CPU
- Attach your existing heat sink on top
- The copper spreads heat more effectively, improving overall thermal performance
Why It Works
Copper’s high thermal conductivity spreads heat from the concentrated CPU die across a larger area before transferring to the heat sink. This reduces peak temperatures and allows your heat sink to work more efficiently.
Project 2: High-Power LED Heat Management
The Challenge
High-power LEDs (1W and above) generate substantial heat that, if not managed, reduces brightness, shortens lifespan, and can cause bus.
The Copper Solution
Build a copper LED star heat sink:
- Cut copper strips to create a mounting platform slightly larger than your LED star module
- Apply thermal adhesive or thermal tape to attach the LED
- Bend copper strips into mounting brackets
- Add mounting holes for installation
- The copper base acts as a heat spreader and thermal reservoir
Pro Tip
For even better performance, create copper heat sink fins by cutting slots in additional copper strips and attaching them perpendicular to the base for increased surface area.
Project 3: Custom EMI Shielding Box
The Challenge
Sensitive circuits can pick up radio interference or generate EMI that affects nearby electronics. Creating a simple shielding enclosure solves this problem.
The Copper Solution
Fabricate a copper shielding enclosure:
- Cut copper strips to form the walls of your enclosure
- Solder coers to create a box shape
- Add a soldered lid for complete coverage
- Drill small holes for wires, using solder to maintain shielding continuity
- Co
ect the enclosure to circuit ground
Applications
- RF receiver modules
- Audio preamplifier circuits
- Sensor modules requiring noise immunity
- Microcontroller projects near motors or switching power supplies
Project 4: Custom Flexible Printed Circuit Co
ectors
The Challenge
Sometimes you need a custom co
ector or flexible pathway between circuit sections without using bulky ribbon cables.
The Copper Solution
Create thin copper trace jumpers:
- Cut narrow copper strips (1-2mm wide) to your required length
- Use thin adhesiveKapton tape to secure them in place
- Solder to component leads or PCB pads
- The copper provides excellent current-carrying capacity
- Much lower resistance than equivalent wire co
ections
Advanced Option
For projects requiring multiple co
ections, create a matrix of copper strips to form a custom bus architecture.
Project 5: Soldering Helper and Component Lead Forming
The Challenge
Working with small components can be frustrating without proper tools for holding pieces and forming leads.
The Copper Solution
Create a copper “third hand” and lead-forming jig:
- Cut copper strips into various shapes
- Create angled supports for holding circuit boards
- Form small cups or cha
els for component alignment
- The copper conducts heat away from heat-sensitive components when needed
- Also serves as a thermal mass for pre-heating delicate parts
Where to Source Copper Strips for DIY Projects
TechMart SE offers copper strips suitable for DIY applications:
- Small quantity purchases – perfect for hobbyist projects
- Various thicknesses – from 0.1mm to 0.5mm and beyond
- Multiple widths – ready to cut to your specifications
- Tin-plated options – for easy soldering
- Fast shipping across Southeast Asia and worldwide
Tips for Working with Copper Strips
- Safety first: Wear safety glasses when cutting copper; edges can be sharp
- Use sharp tools: Sharp scissors or sheet metal snips make clean cuts
- Clean before soldering: Light abrasion with fine sandpaper improves solder wetting
- Use proper ventilation: Soldering produces fumes; work in a well-ventilated area
- Practice on scraps: Test your techniques on small pieces before committing to final projects
Conclusion
SMT copper strips offer incredible versatility for DIY electronics projects. From improving thermal management in Raspberry Pi setups to creating custom EMI shielding solutions, these professional-grade materials can elevate your hobby projects to commercial-quality performance.
Whether you’re building custom LED lighting, protecting sensitive circuits from interference, or creating unique electronic devices, copper strips provide the thermal and electrical properties you need. Browse our selection of copper strips to start your next DIY electronics project with professional-grade materials.
Have you created something amazing with copper strips? We’d love to hear about your projects! Share your experiences and tips with our community of electronics enthusiasts.
n