The solder paste printing process is widely cited as the cause of 50–70% of all SMT defects. Within that category, fine-pitch QFN (Quad Flat No-lead) and QFP (Quad Flat Package) components are particularly challenging: 0.4 mm and 0.5 mm pitch packages demand stencil apertures that consistently release the correct paste volume without clogging, smearing, or bridging. The relationship between aperture geometry and printing yield is governed by a few well-defined physical principles that, when applied systematically, transform fine-pitch assembly from a yield-limiting step into a routine operation.
The Area Ratio Rule
The single most important parameter in stencil aperture design is the area ratio, defined as the area of the aperture wall opening divided by the area of the aperture wall surface:
Area Ratio = Aperture Opening Area ÷ Aperture Wall Area
For a rectangular aperture of width W and length L cut into a stencil of thickness T:
Area Ratio = (W × L) ÷ [2 × T × (W + L)]
The industry-standard rule (originally formulated by printer manufacturers and now codified in IPC-7525) is that the area ratio should be ≥ 0.66 for reliable paste release. Below 0.66, the cohesive forces of the solder paste exceed the adhesive forces to the pad, leading to incomplete release and intermittent printing defects.
For typical QFN/QFP footprints:
| Package | Pitch | Pad Size (W × L) | Stencil Thickness | Area Ratio (Rectangular) |
|---|---|---|---|---|
| 0.4 mm QFN | 0.4 mm | 0.20 × 0.30 mm | 100 μm | 0.60 |
| 0.4 mm QFN | 0.4 mm | 0.20 × 0.30 mm | 75 μm | 0.80 |
| 0.5 mm QFP | 0.5 mm | 0.25 × 1.50 mm | 100 μm | 0.86 |
| 0.5 mm QFN | 0.5 mm | 0.25 × 0.35 mm | 100 μm | 0.70 |
| 0.65 mm QFP | 0.65 mm | 0.30 × 1.50 mm | 125 μm | 1.00 |
| 0.8 mm QFP | 0.8 mm | 0.40 × 1.50 mm | 150 μm | 1.05 |
For 0.4 mm pitch QFN, the calculation shows that a 100 μm thick stencil produces a sub-standard area ratio of 0.60. The fix is either a thi
er stencil (75 μm) or an aperture geometry modification. Most stencil designers default to 100–125 μm for QFP and QFN, but 0.4 mm pitch QFN typically requires 75–100 μm stencil thickness for reliable release.
Aperture Shape: Rectangular vs Trapezoidal vs Home Plate
The standard rectangular aperture is the simplest to manufacture but is not always optimal for fine-pitch printing. Three alternative aperture shapes address specific challenges:
Rectangular apertures: Standard, lowest cost, suitable for most QFP and QFN footprints with pitch ≥ 0.5 mm. Aperture dimensions are typically 1:1 to the PCB pad, or slightly reduced (80–95% of pad) for tight pitches.
Trapezoidal apertures: Aperture walls are angled so the top (board-side) opening is smaller than the bottom (printer-side) opening. The trapezoidal shape reduces solder balling and bridging by reducing the paste volume at the corners — the area where bridging is most likely. For 0.4 mm pitch QFN, a trapezoidal aperture with top opening 80% of bottom opening reduces bridging defects by 40–60% compared to a standard rectangular aperture.
Home-plate apertures: A rectangular aperture with one corner rounded or cut, used for QFP leads where bridging is most likely to occur at the lead-to-lead side rather than the lead-tip side. Home-plate design reduces bridging by 30–50% on QFP leads at 0.4 mm pitch.
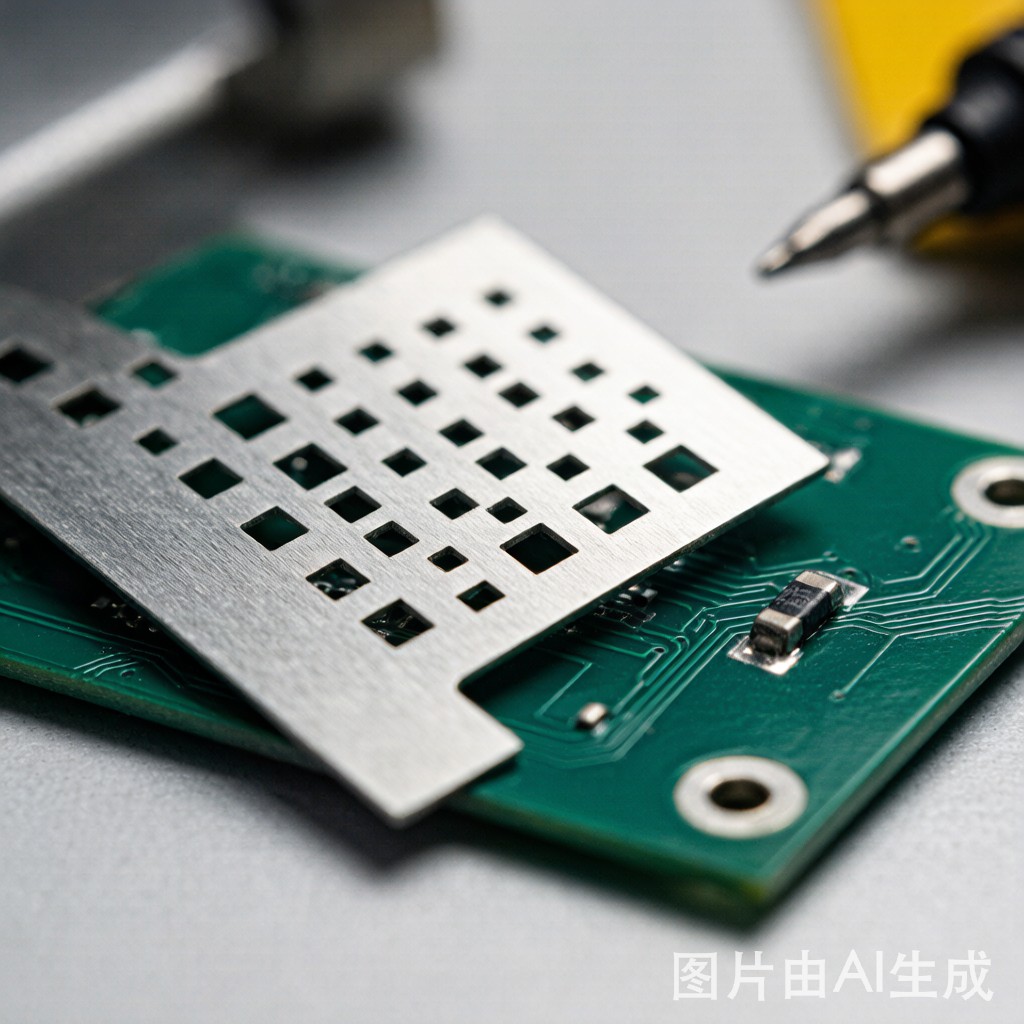
Stencil Manufacturing Method
Three stencil manufacturing methods produce dramatically different aperture quality. The choice depends on volume and pitch:
- Chemical etching: Acid etches apertures from both sides of the stencil. Produces tapered walls (typically 5–10° taper) that can be an advantage for release but reduces positional accuracy. Best for QFP with pitch ≥ 0.5 mm; not suitable for 0.4 mm pitch QFN due to ±25 μm positional tolerance.
- Laser cutting: Fiber or CO₂ laser cuts apertures directly. Produces near-vertical walls (typically 1–2° taper) and ±10 μm positional accuracy. Best general-purpose method for fine-pitch and mixed-pitch designs. The dominant method for 0.4–0.65 mm pitch stencils.
- Electroforming: Nickel is electroplated around a photoresist pattern, producing perfectly smooth, tapered walls. Highest release performance. Best for ultra-fine-pitch (0.3 mm and below) and high-reliability applications. Highest cost (3–5× laser-cut) and longer lead time.
For most Southeast Asian SMT production, laser-cut stencils are the default. Electroformed stencils are reserved for the most demanding fine-pitch work (0.3 mm pitch WLCSP, medical device assembly).
Stencil Thickness Selection
Stencil thickness directly controls paste volume. Thicker stencils deposit more paste, which is desirable for components with large thermal pads (QFN, BTC) but problematic for fine-pitch leaded components. The common industry solutions:
- Step-up stencils: Localized thickness increase in regions where more paste is needed (typically under QFN thermal pads). A step-up stencil can be 100 μm thick in the QFP area and 150–200 μm thick over the QFN thermal pad, providing the correct volume for both component types in a single print. Manufactured by chemical etching of the thicker regions, then laser-cutting the apertures.
- Step-down stencils: Opposite — thi
er regions where less paste is needed (fine-pitch QFP). Less common because thin regions are fragile and reduce stencil life.
- Variable thickness via additive processes: Newer additive stencil manufacturing (e.g., Hitachi’s Vantage, ASM’s DEK VectorGuard) uses polymer or metal fills to locally adjust thickness with high precision, enabling flexible thickness maps tailored to specific board designs.
For a mixed board with 0.5 mm QFP, 0.4 mm QFN, and 0402 passive components, a 100 μm thick stencil with step-ups over the QFN thermal pads typically produces the best first-pass yield.
Release Percentage and Print Speed
The release percentage — defined as the mass of paste actually deposited divided by the theoretical mass of paste that should be in the aperture — is a key process control parameter. For fine-pitch printing, target release percentage is 85–95% across the aperture. Below 80%, the joint is starved of solder and defects like non-wet opens become likely.
Release percentage is optimized by tuning:
- Print speed: Slower print speed (10–25 mm/s) gives the paste more time to release from the aperture walls. For 0.4 mm pitch, print speed of 15–20 mm/s is typical.
- Print pressure (squeegee force): Higher pressure improves release but increases smearing. For fine-pitch, 5–8 kg per 100 mm of squeegee length is typical.
- Separation speed: The rate at which the stencil separates from the board after printing. Slow separation (0.5–1.0 mm/s) allows paste to release cleanly. Fast separation (3+ mm/s) causes aperture clogging and insufficient release.
- Aperture wall polish: Electro-polished or nano-coated aperture walls reduce paste adhesion to the wall, improving release by 5–10 percentage points.
Solder Paste Selection for Fine Pitch
Paste rheology — the flow behavior of the paste — is critical for fine-pitch printing. Type 4 and Type 5 solder powders (particle size 20–38 μm and 15–25 μm, respectively) are standard for fine-pitch applications. The finer powder distribution provides more uniform release from small apertures, but finer powders also have higher oxidation surface area and shorter stencil life.
For 0.4 mm pitch QFN, Type 4 powder (20–38 μm) is the most common choice. For 0.3 mm pitch and below, Type 5 (15–25 μm) is necessary. Type 6 and finer are reserved for the most demanding applications (wafer-bumping, semiconductor packaging).
Flux chemistry also matters. No-clean pastes with ROL0 or ROL1 classification dominate SMT production, but for fine-pitch applications, low-residue pastes with controlled slump are preferred to reduce bridging. Water-soluble pastes (typically OA-classified) provide the best printing performance but require post-reflow cleaning, which adds process cost and is rarely used for fine-pitch consumer electronics.
Inspection and Process Control
Solder Paste Inspection (SPI) is the standard in-process control for fine-pitch printing. Modern 3D SPI systems measure paste volume, height, area, and registration at every pad on every board, in real time. The key metrics:
| SPI Metric | Target | Action Threshold |
|---|---|---|
| Volume (Cp, Cpk) | Target ±20% | Action at ±35% |
| Height | Target ±15% | Action at ±25% |
| Area | Target ±10% | Action at ±20% |
| Offset (X, Y) | < 50 μm | Action at >75 μm |
| Bridge detection | 0 defects | 100% stop on any bridge |
Cpk (process capability index) is the gold standard for paste printing process control. A Cpk of 1.33 or above indicates a capable process; below 1.0, the process is producing defects at unacceptable rates. For fine-pitch QFN, target Cpk > 1.5 for the critical parameters (volume and offset).
Yield Optimization Roadmap
For a board entering production with significant fine-pitch QFN/QFP content, a typical yield improvement roadmap might be:
- Baseline measurement: Run 100 boards, measure first-pass yield (FPY) and SPI Cpk. Typical baseline FPY for 0.4 mm pitch QFN is 85–92%.
- Aperture optimization: Adjust aperture size and shape, switch to laser-cut if currently chemically etched. Add trapezoidal apertures for QFN. Expected improvement: 3–5% FPY.
- Stencil surface treatment: Apply nano-coating (e.g., NanoSlic, Excell) to aperture walls. Reduces paste adhesion and improves release. Expected improvement: 2–4% FPY.
- Print parameter tuning: Optimize print speed, pressure, and separation speed. Expected improvement: 2–3% FPY.
- Paste qualification: Test 2–3 alternative pastes with different flux chemistries. Pick the best performer. Expected improvement: 1–3% FPY.
- Target: FPY > 98% for 0.4 mm pitch QFN and > 99% for 0.5 mm pitch QFP.
For high-volume Southeast Asian production, the cost of poor fine-pitch printing — rework labor, component scrap, throughput reduction, and missed customer deliveries — typically exceeds $50,000 per percentage point of yield loss per year. Investing in proper stencil design, paste selection, and process control is among the highest-leverage improvements available in SMT assembly.