Why Impedance Control Matters in High-Speed Design
As digital signaling rates push beyond 1 Gbps, the PCB traces carrying these signals transition from simple wires into transmission lines. At these frequencies, signal integrity depends critically on maintaining consistent characteristic impedance along every copper trace. An impedance mismatch — even a small one — causes signal reflections, ringing, and jitter that can corrupt data or cause system failures.
Controlled impedance design is no longer optional for products featuring DDR memory interfaces, PCIe lanes, USB 3.x/4, HDMI, or any SerDes-based link. Understanding how copper trace geometry, dielectric materials, and stackup configuration affect impedance is essential for every PCB designer working in the high-speed domain.
Fundamentals of Transmission Line Impedance
The characteristic impedance (Z₀) of a copper trace is determined by its physical geometry and the surrounding dielectric material. For a microstrip (outer layer trace with reference plane below), the key parameters are:
- Trace width (W): Wider traces have lower impedance
- Dielectric thickness (H): Greater distance to the reference plane increases impedance
- Copper thickness (T): Thicker copper slightly lowers impedance
- Dielectric constant (Dk): Higher Dk materials reduce impedance
- Solder mask coating: Adds approximately 0.5-1.5 Ω reduction
For stripline (i
er layer between two reference planes), the geometry is symmetric and the impedance is generally lower for the same trace width compared to microstrip.
Differential Pair Routing for High-Speed Interfaces
Most modern high-speed interfaces (PCIe, USB, HDMI, Ethernet) use differential signaling, where two complementary signals are routed as a pair. The differential impedance (typically 85 Ω, 90 Ω, or 100 Ω depending on the standard) is a function of both the individual trace impedance and the edge-to-edge spacing between the pair.
Critical differential pair routing rules:
- Maintain constant spacing (S) between pair members along the entire route
- Match lengths within the pair to within 5 mils or less
- Avoid routing pairs across split reference planes
- Minimize vias; when vias are necessary, use ground stitching vias nearby
- Keep intra-pair skew below the interface specification limit
Stackup Design for Controlled Impedance
The PCB stackup is the foundation of controlled impedance design. Key decisions include:
- Layer count: High-speed designs typically require at least 4 layers, with dedicated reference planes adjacent to signal layers
- Dielectric material selection: FR-4 is adequate up to ~5 Gbps; above this, low-loss materials like Megtron 6, Rogers 4350B, or Isola I-Tera MT40 should be considered
- Prepreg vs. core: Core materials have tighter Dk tolerance than prepreg, making them preferable for critical impedance layers
- Copper weight: 1/2 oz (18 μm) or 1 oz (35 μm) copper is typical for signal layers; heavier copper is used for power planes
Calculating and Simulating Impedance
Modern PCB design tools (Altium Designer, Cadence Allegro, KiCad with calculators) include built-in impedance calculators based on established models like IPC-2141A or field solvers. For critical designs, a 2D or 3D field solver should be used rather than simplified formulas.
Key parameters to verify in simulation:
- Single-ended impedance (target: 50 Ω for most digital signals)
- Differential impedance (target: 85/90/100 Ω per interface spec)
- Common-mode impedance
- Impedance variation across temperature and manufacturing tolerance
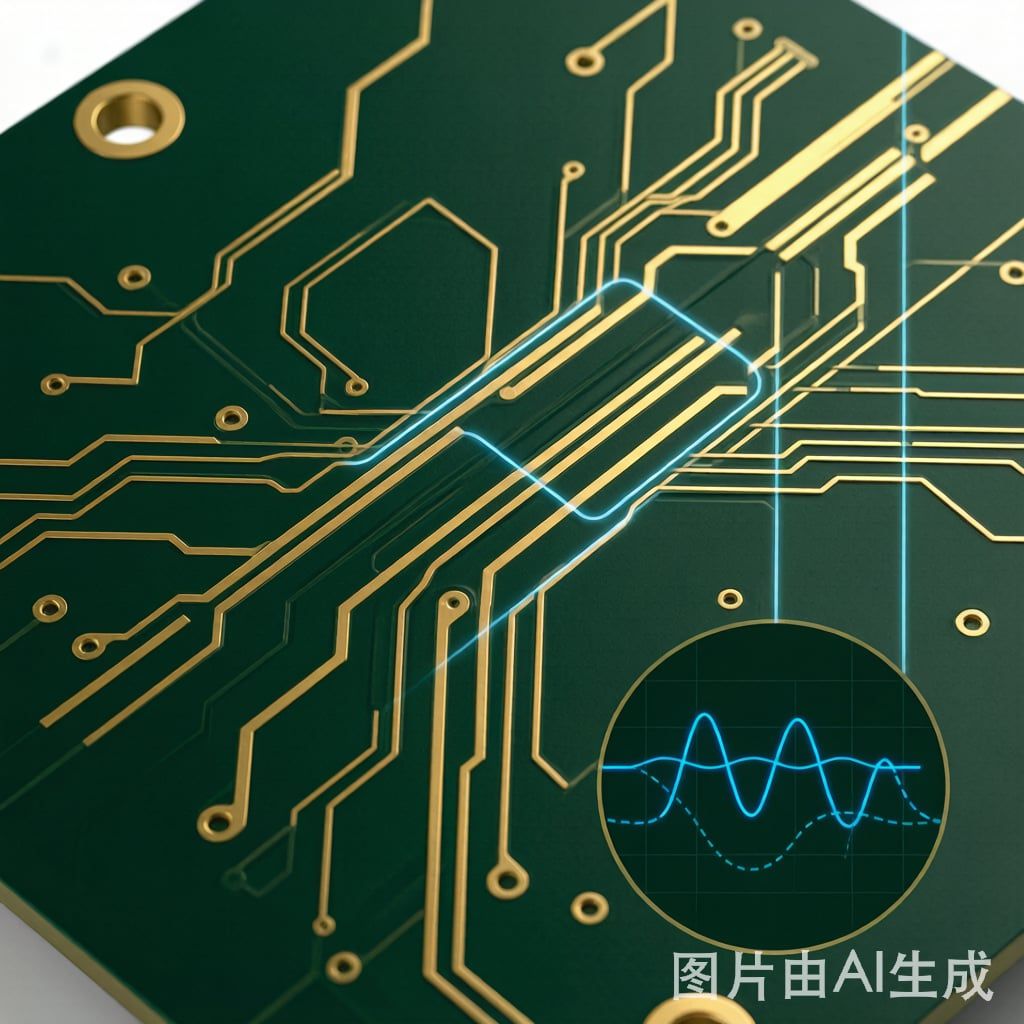
Manufacturing and TDR Validation
After fabrication, controlled impedance traces must be validated using Time Domain Reflectometry (TDR). Most PCB fabricators include impedance test coupons on the panel edges for this purpose. The IPC standard tolerance is typically ±10% of the target impedance.
For volume production, establishing a design of experiments (DOE) with the fabricator to correlate trace width adjustments with measured impedance ensures consistent results across production lots. A well-characterized impedance control process is the difference between a design that works on the bench and one that ships reliably in volume.